Purchasing a product on someone's behalf
There are times when, as an admin, you may wish to submit an entry or purchase a product on behalf of a customer. You can submit/complete as normal, choose to amend the price, or partially complete so that your customer completes the payment process.
In this article
Completing a submission/purchase for a customer
Submitting a nomination or purchasing a product for a customer needs to be done via your event website. Navigate to your event website, and to the page where the product you want to select is.
Select your required category or product, login, and proceed to the Basket to process the purchase.
If you have logged in as Admin, you will be able to amend the price of the product, if needed.

Complete the form, and scroll to the bottom of the page. Check the box to accept the Terms and Conditions, and select Complete or Continue, depending on the setup of your transaction process.
If you are directed to the personal/invoice details, ensure the details you enter here belong to the customer you are making this purchase for. Once you submit the transaction, you will receive an email confirming the transaction completion.
Note 🗒️
If there is a payment associated with this transaction, this will need to be paid via one of your available payment methods.
Credit card payments will be processed in the final step of the process; if you choose Invoice, this invoice can be shared when you reassign the transaction.
If you prefer that the customer be responsible for the payment, consider partially completing the submission/purchase.
Partially completing a submission/purchase so a customer completes the payment
If you would like the customer to be responsible for the remainder of the process, including payment, it is possible to begin the process on their behalf, but not finish the process entirely.
If you choose to partially complete the submission/purchase, complete the form as normal, and scroll to the bottom of the page.
Here, inside the Admin Controls at the end of the page, select the option Create Incomplete.
Agree to the Terms and Conditions, and select Create.

Once you have created the transaction as Incomplete, it will be moved to your Incomplete items. This is where it will appear for your customer when you reassign the transaction to them.
To complete the transaction once it has been reassigned to them, the user can log in to your event website, and select Incomplete in the menu on the left side of the screen.

Locate the transaction in question, and click Complete. They will be then brought to the next step of the purchase process, where they can complete their personal/invoice details, and complete their payment.
Tip 💡
If you would like to edit the message that appears in the incomplete area, you can do so via your Payment Settings.
Re-assigning the transaction in the Evessio Admin Portal
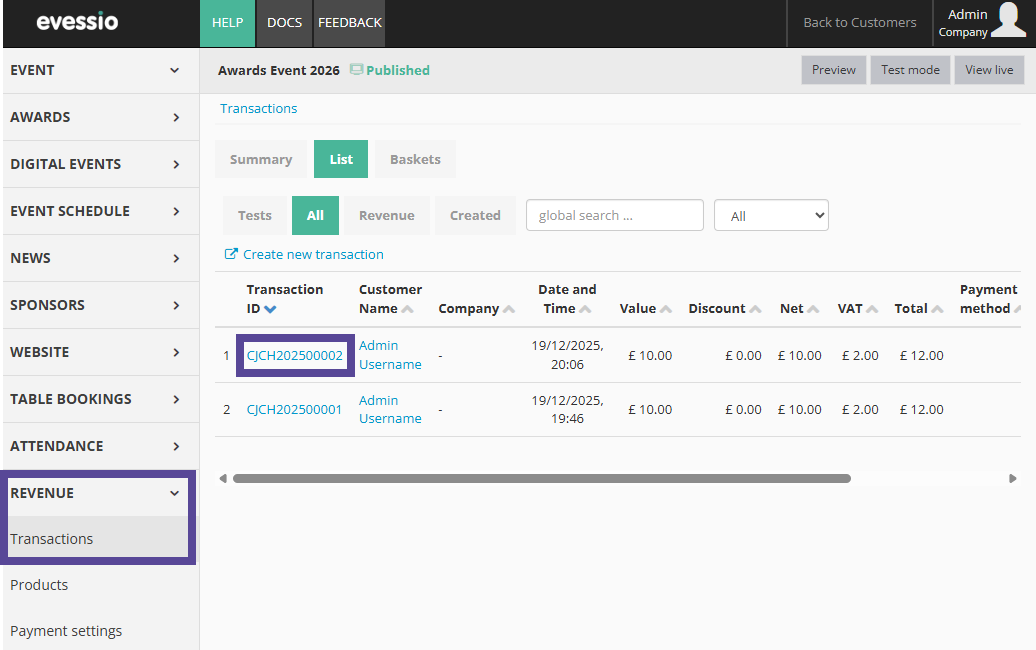
Once your transaction has been created, it will be visible in Revenue > Transactions > List > All.
Locate your transaction, and click on the Transaction ID.
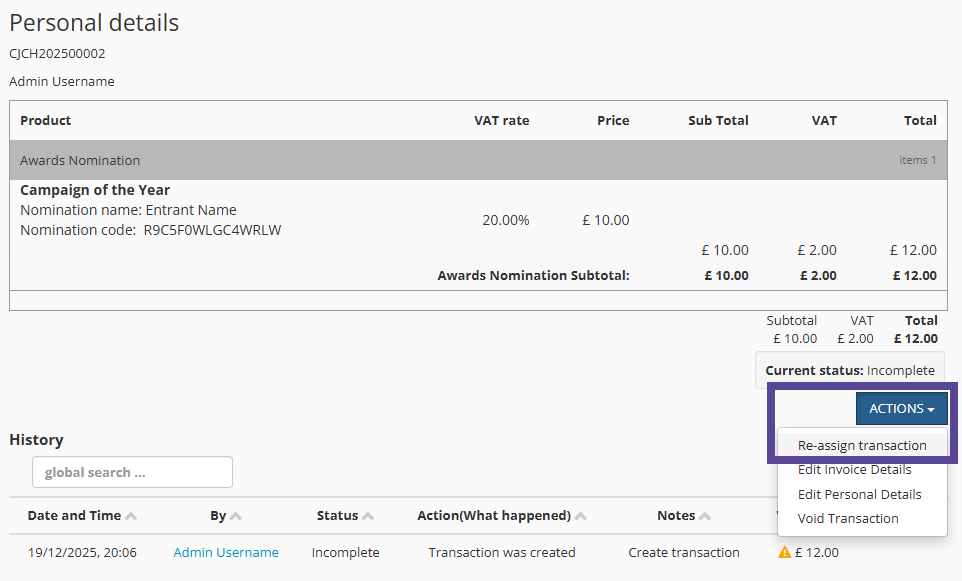
Once in the transaction, click on the blue Actions button on the right side of the screen. In the dropdown, select Re-assign transaction.
In the new window, select the user you wish to reassign this transaction to by selecting their name in the list. You can use the search function to find the user by their name or email address.
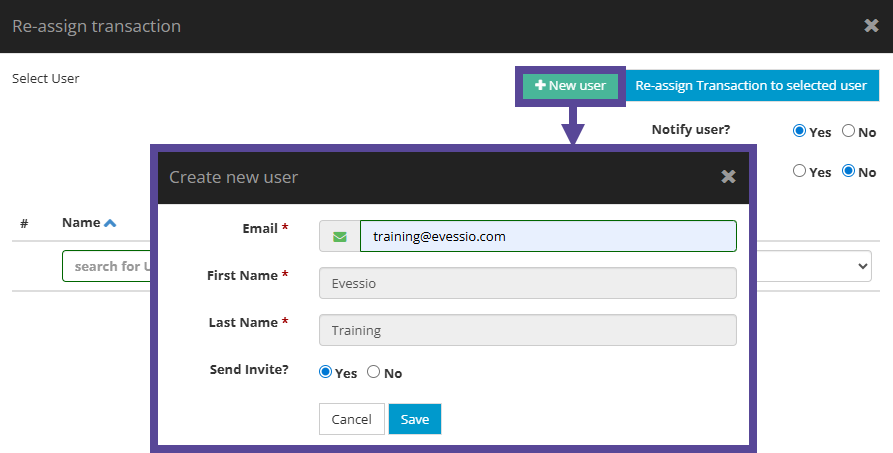
If the user you wish to reassign this transaction to is not on this list, you can create a new user.
To do this, click on +New User.
Complete the new user information, and choose if you will send the new user an invite.
When you are ready, click Save.
Once your user in listed in the table, select who you are reassigning the transaction to.
Then, choose if you wish to notify the user via email.
Tip 💡
You can edit the content of the notification email in Website > Email Templates > "Thank You- Reassign Transaction.
If this was a completed transaction, you can choose to attach the invoice/receipt on the notification email.
Finally, if there are any product attachments active on the product, you can choose to also attach these to the notification email.
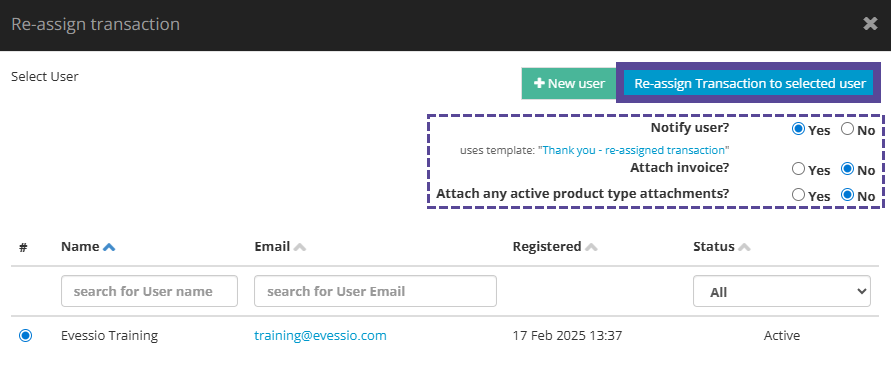
When you are ready, click Re-assign Transaction to selected user.
Your selected user will now be the owner of this transaction, and will be able to interact with and make edits to the submission or purchased product.