Countdown timer
Countdown timers can be used to actively count down in real time to a specific date or milestone within your event.
You can set a target date or link it to an event milestone (such as the date your nominations close), and the widget will automatically display a live countdown. It’s also customisable, allowing you to adjust text, styling, and what appears once the timer reaches zero
In this article
Styles of Countdown timers
With Evessio's Countdown timer, there are three styles available. The style is chosen during the creation of your countdown timer, and can be changed at any time. You can choose between Basic, Flip or Rings style.
Note 🗒️
Flip and Rings styles are also available in dark and light.
Creating your Countdown timer
Begin by navigating to Website > Pages or Website > Pages > Templates, and click on the name of the page/template you wish for your timer to appear on.
Locate the section of the page/template where your countdown timer will go, click on +Add Content.
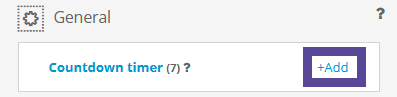
In the window, go to Widgets > +Add Countdown timer.
Tip 💡
Alternatively, create your content by going to Website > Content > Widgets > Countdown Timer, and click +Add. Once created, you can later add your countdown timer to your website.
Add a title, and choose if this title will be displayed on your website above your countdown timer.
If you are displaying the title, be sure to align it based on your site configuration.
If you like, provide an optional description.
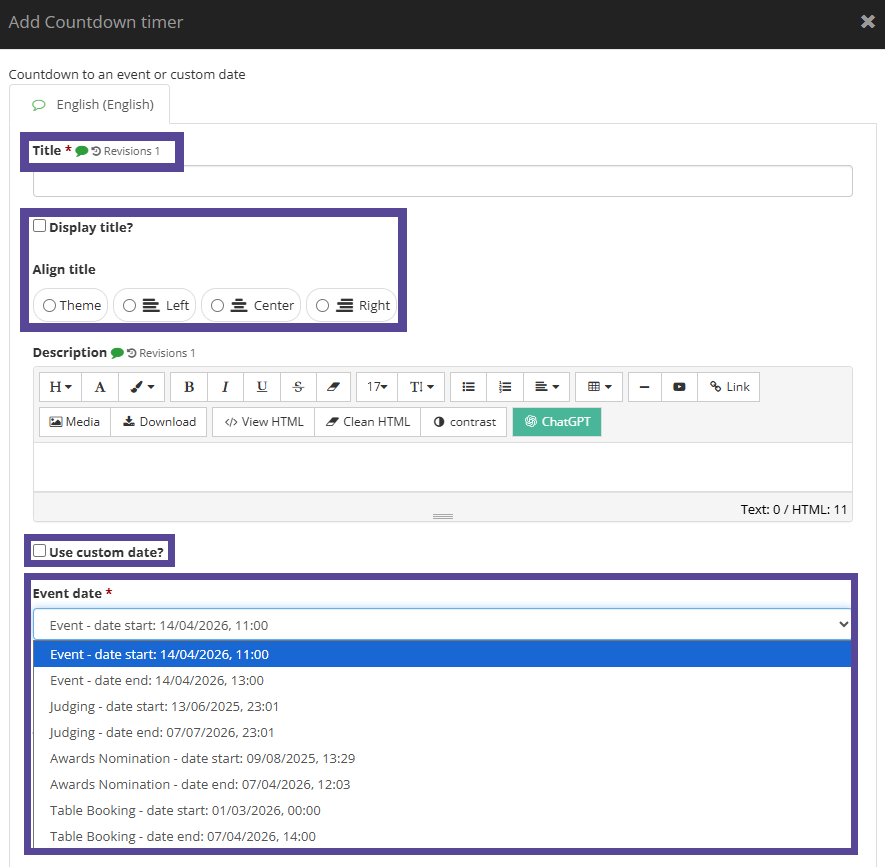
Then, choose what date your countdown timer is counting down to.
- If you prefer for your timer to count down to a date already configured in your event, choose this date from the dropdown list.
Tip 💡
This is a great option for your key event dates, i.e. nomination close date, table sales close date, as if you choose to amend this date in the Event Settings, your countdown timer will automatically adjust to the new date.
- If your preferred date is not in the dropdown list, tick the option Use custom date?, and select your preferred date to count down to.
When the countdown timer gets to zero, by default it will remain at the final display, i.e. 0 days, 0 hours, 0 mins, 0 seconds.
If you wish for the countdown to be hidden or replaced with another message or image, select the option Show alternate content on completion?.
- If you would like the timer to be hidden completely when finished, leave the Alternate content box blank.
- If you prefer to display an image or text when the countdown is complete, add it to the Alternate content box.
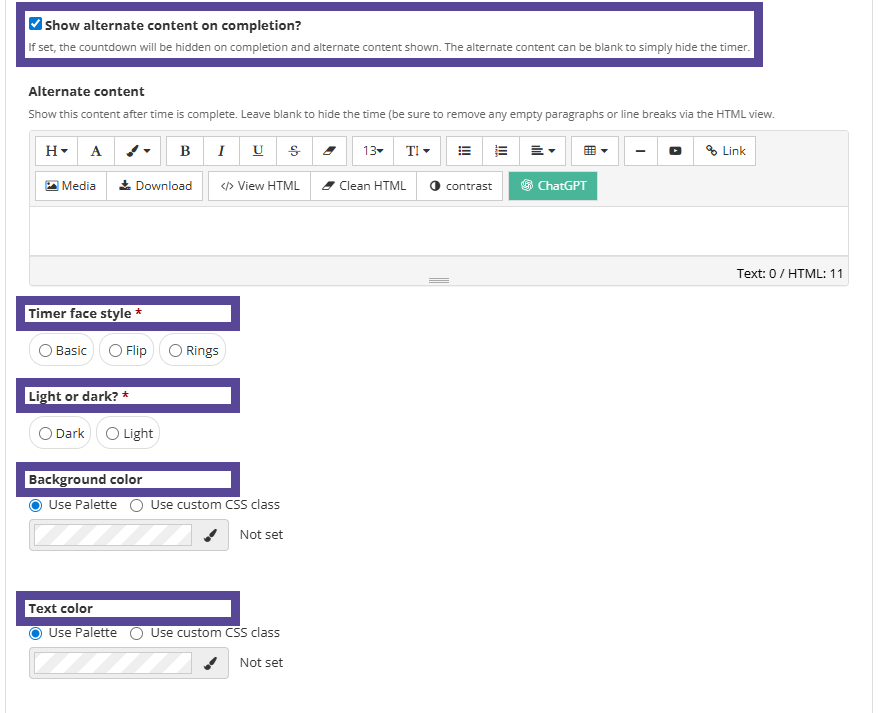
Next, select the timer face style you would like to use, and if you prefer light or dark.
Then, optionally select the background and text colour of your timer.
As standard, the countdown timer displays the labels Days, Hours, Minutes and Seconds.
If you would like to replace them with alternative labels, e.g. Days, Hrs, Mins, Secs, enter the new labels into the corresponding boxes.
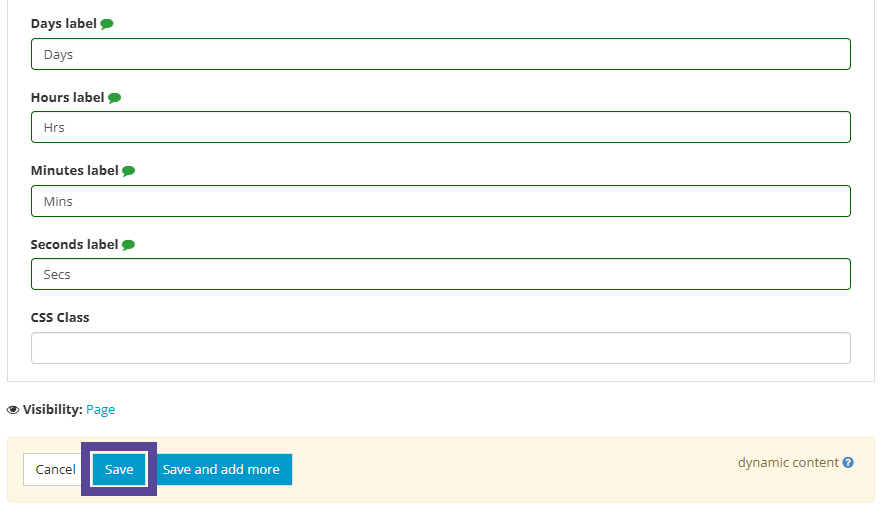
When you are ready, click Save.
Adding your Countdown Timer to your website
To add your Countdown timer to your website, go to the page or template you wish for it to appear on.
Choose where you want the menu to appear, and click +Add Content.
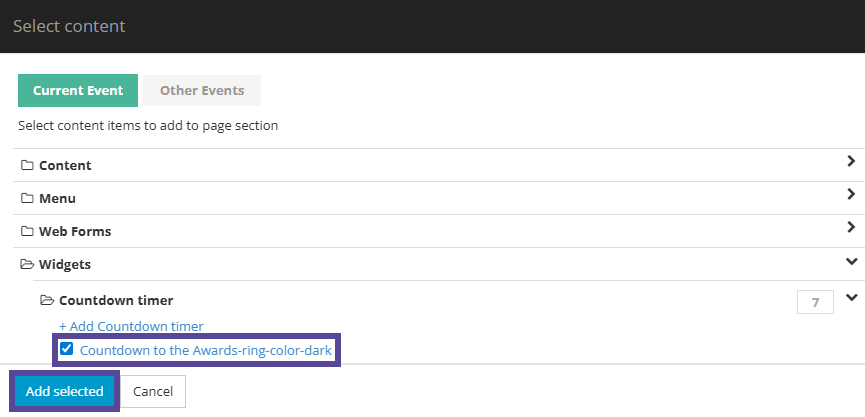
In the content window, select Widgets > Countdown timer, and then open the folder containing your timer.
Tick the box beside your chosen item, then click +Add Selected.
Remember to click Save at the end of your page/template.