Adding multiple languages to your website
It is possible to offer your event website in multiple languages.
With this option, you can add content throughout your website, configuring each content type in multiple languages.
The user will then have the option to toggle between the languages you make available and configure.
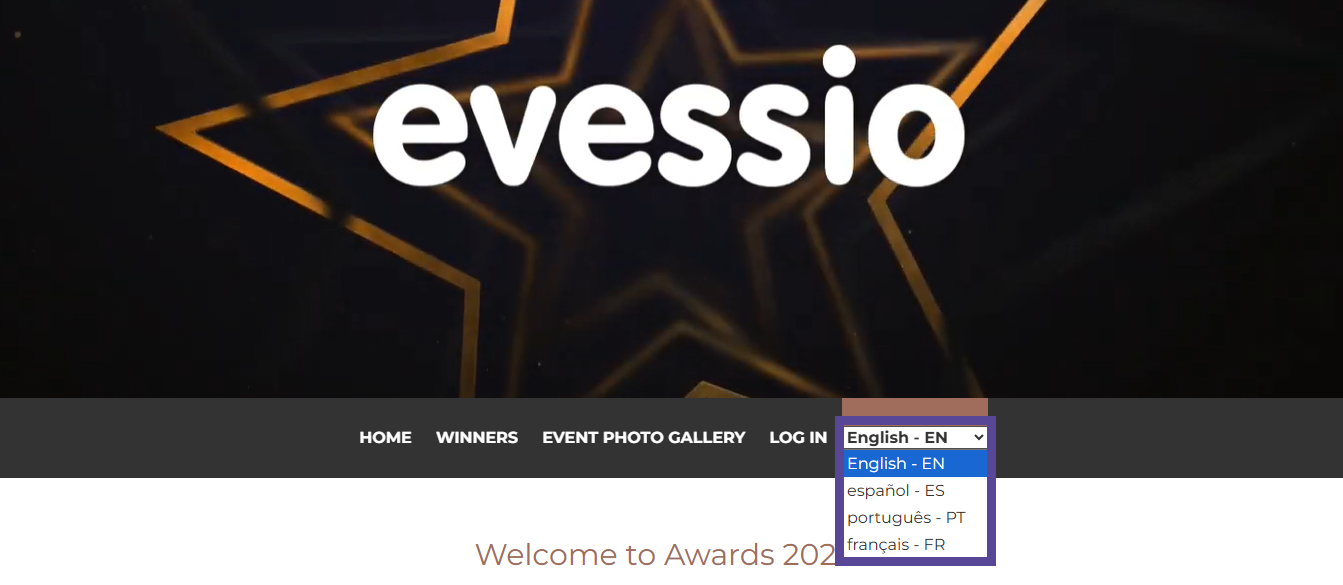
Activating languages on your event
To include additional languages to your event, go to Event > Settings, and click on the Edit button.

Select the language(s) you wish to add from the dropdown list and click the + button to add this to the list. When you have added your language(s), click Save.
Tip 💡
You can add as many languages as desired to your website.
Creating content with multiple translations
You can add content to your event website by going to Website > Pages, and selecting the page you wish to add content to.
Inside each content type, you will now find a tab for each laguage you have added to your event. Complete all madatory fields in each lanugage tab to ensure the correct translation appears.
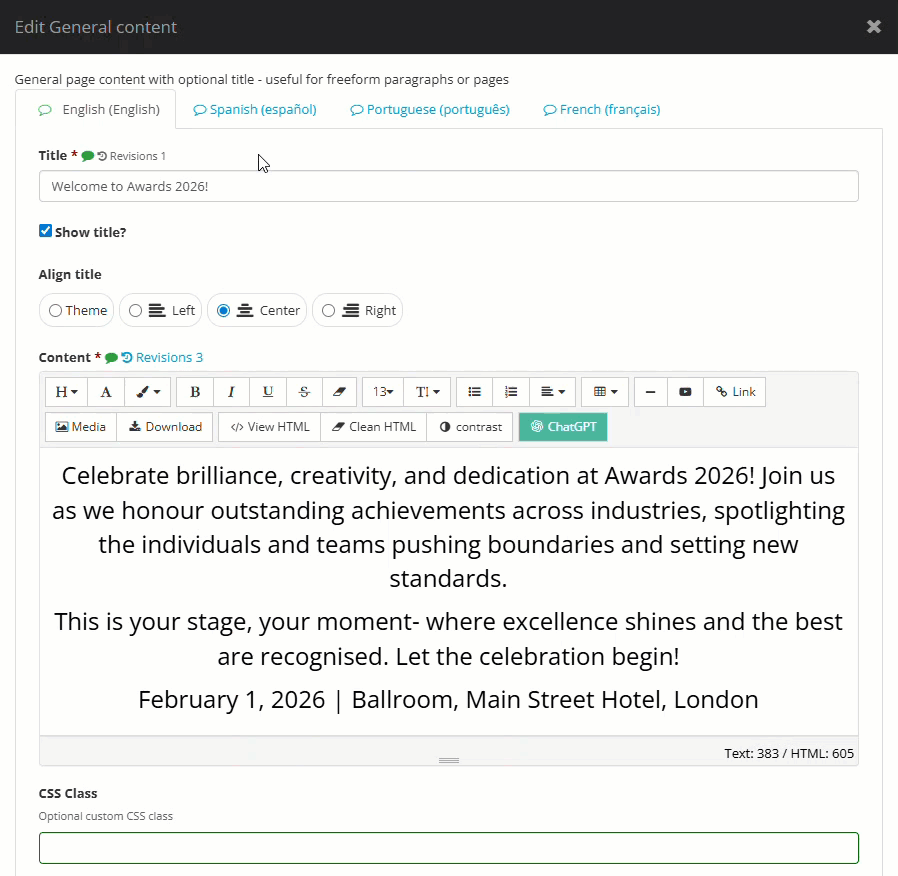
Warning ⚠
If you have additional language(s), you must ensure all mandatory fields within a content type are completed in all language tabs before you can click Save.