Adding an Event Schedule to a website
Once you have created your event agenda and its sessions, you can then add this to your website and configure your entire event schedule.
In this article
Adding your schedule to your site
Once you have created all of your required sessions to your agenda(s), you can now place your event schedule on your site.
Go to Website > Pages, and choose the page where your schedule will sit, or add a new page.
In your chosen page, select +Add Content in the row and column you want your schedule to be placed in.
In the content selector, go to Content > Common > Schedules > +Add Event Schedule.
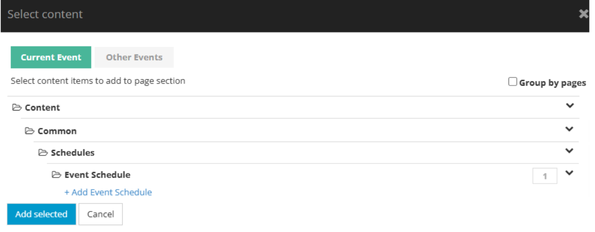
Then, begin to configure your event schedule. Once your event schedule has been completed and saved, click +Add Selected to place your new schedule on your webpage.
Configuring the event schedule
To configure your event schedule, first add a title and optional description.
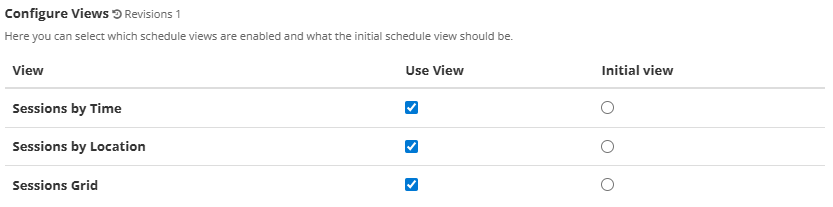
Then, determine how you would like the default view of your schedule to be.
You can choose which views will be available to be used.
Next, choose how the time zone will be displayed. There are three options:
| Option | Description |
|---|---|
| Event time zone | Good for physical events where the sessions take place at the event location - all users from around the world will see the same times for the sessions. |
| User time zone | Good for digital events where users may be joining from around the world - it is more useful to show session time according to the user's location |
| Custom time zone | Sets a custom time zone for the schedule - this will function like the event time zone and fix times to the custom zone |
You can also control how much time zone information is displayed, choosing to hide all, show all, show the time zone at the top of the schedule, or show the time zone in the session detail.
Next, choose if you want to display sessions side by side by checking this option, and if you want the details of the session to appear inline (i.e. directly visible on the page), or if it opens in a pop up window.
Below, you can choose to show or hide filters. Filters allow you change the view of your schedule by speaker, location and/or topics.
You can choose to rename the Topics label, typing your preferred label, e.g. tags, tracks, and also if your topics will appear in their full or abbreviated form.

Next, you can choose how calendar downloads work on your schedule. With this setting, you can choose where users will find the option to download their selected sessions to .ics files.
Tip 💡
An ICS file is a universal calendar file format (.ics) for sharing calendar data between different calendar applications, such as Google Calendar, Apple Calendar, and Microsoft Outlook.
You can choose for this to be available via your Public website and Personal Schedule (available in the users logged in area), or only via the Personal Schedule.
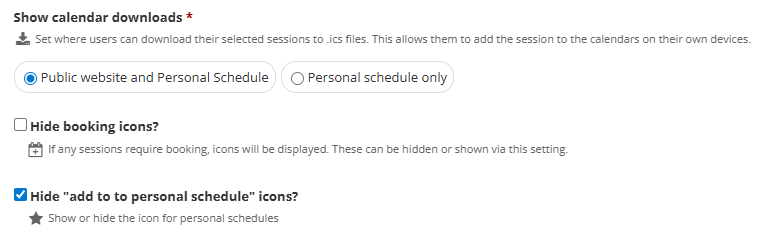
You can choose whether to show or hide Booking icons. If you have configured your sessions to require booking, the icon to book will be displayed. Selecting this option will hide the booking icons.
Lastly, your users can have the option to build a Personal schedule, available in their logged in area. If you would prefer to hide it, you can select this option.
Once all settings have been configured, you can add the agenda(s) you have already created to your schedule.
To find the prepared agendas, open the area titled Re-use other Agendas, where your already-created agendas will be listed. Click on the link button to add this to your schedule.
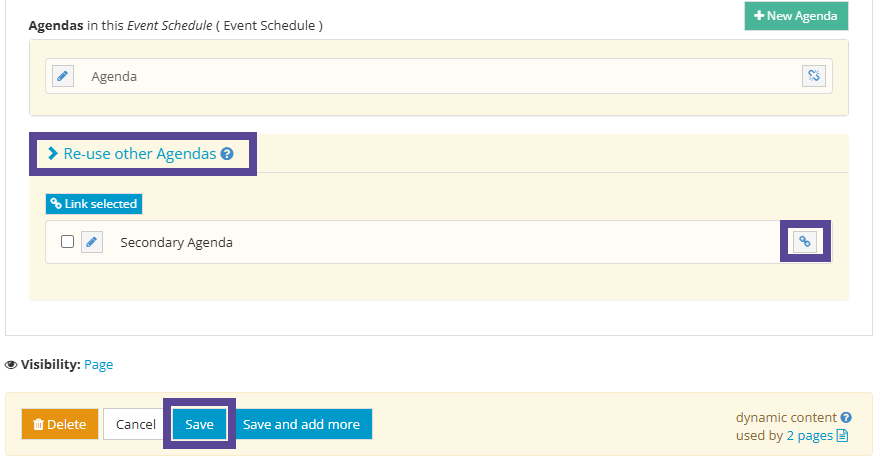
Once you are finished configuring your event schedule, click Save.